A Guide to Dot Peen Marking
We pioneered Dot Peen Marking in the 1970’s and we’re the experts in the field. this guide aims to answer all your questions about Dot Peen Marking. If you think we’ve missed something then please Contact Us and let us know.
What is Dot Peen Marking?
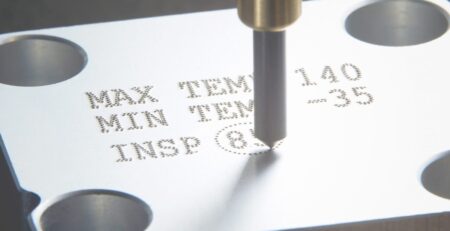
Dot Peen Marking is a direct part marking method where a stylus, or pin, rapidly strikes a material’s surface to create a series of dots, forming alphanumeric characters or codes. Widely used in industries, it offers permanent, fast, and efficient marking on materials like metals and plastics. Known for its durability, versatility, and automation capabilities, Dot Peen Marking ensures clear and lasting identification for product traceability in manufacturing processes.
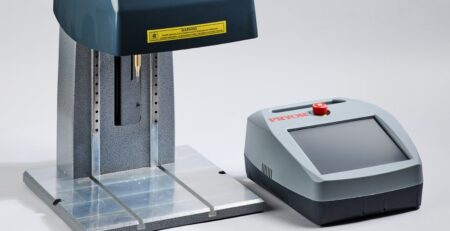
Dot peen marking provides fast, accurate, low-stress marking and can mark through coatings or film on the material surface. Pryor’s standard Dot Peen marking machines use an electrically driven solenoid to actuate the stylus, but pneumatic actuation is also available for deep marking or fast marking.
Dot peen marking provides fast, accurate, low-stress marking and can mark through coatings or film on the material surface.
Pryor’s standard Dot Peen machines use an electrically driven solenoid to actuate the stylus, but pneumatic actuation is also available for deep marking or fast marking.
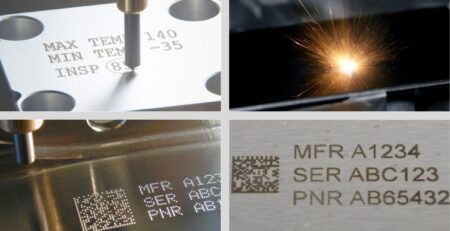
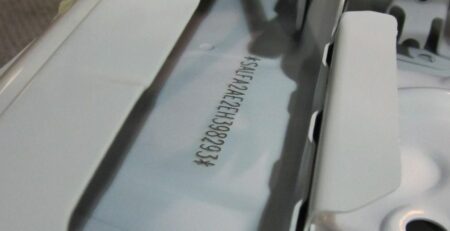
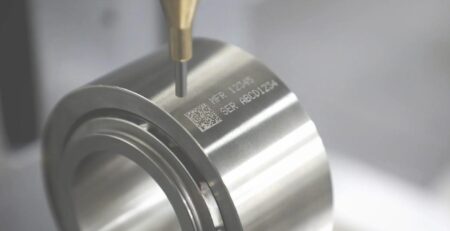
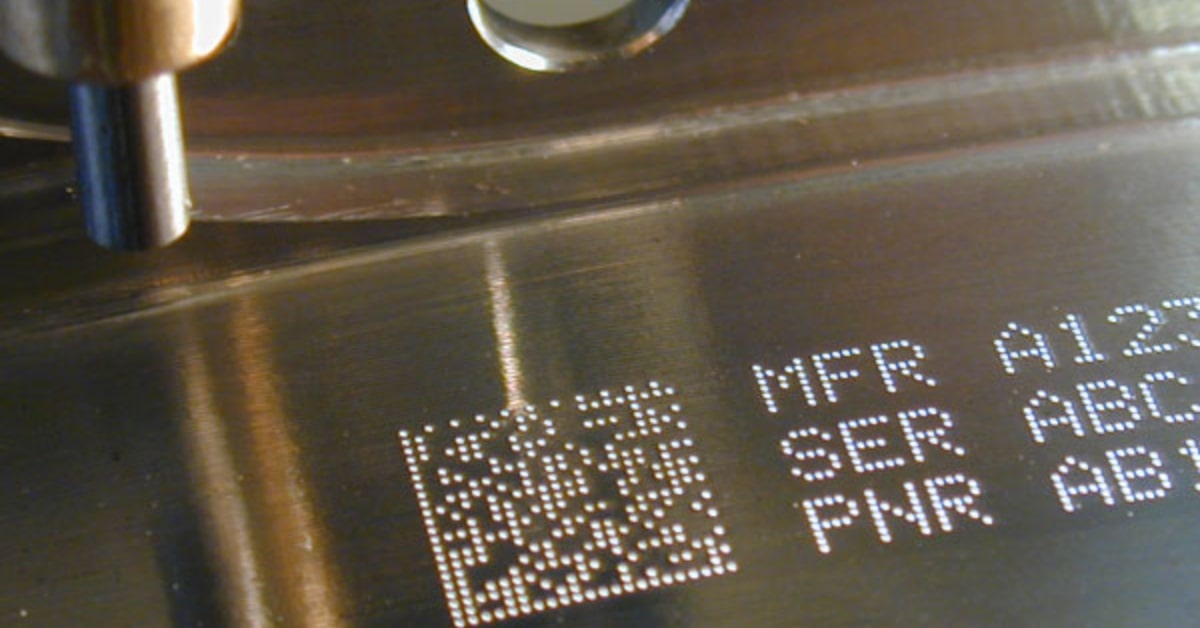
Dot Peen marking is the ideal method for permanent direct part marking Data Matrix Code onto a metal component.
A Data Matrix is a 2D barcode which can store a large amount of data. Pryor marking machines can mark a very wide range of components or labels using a variety of different character styles, sizes and depths.
Below we highlight the key factors that affect dot peen marking.
What are the Benefits of Dot Peen Marking
Dot Peen Marking Systems offers several benefits across various industries:
- Permanent Marking: Dot peen creates durable and permanent marks on a wide range of materials, ensuring longevity and resistance to wear and environmental factors.
- High Speed and Efficiency: This marking method is fast and efficient, contributing to streamlined production processes in industrial settings.
- Versatility: Dot peen systems can mark on various materials, including metals, plastics, and composites, making them versatile for different manufacturing applications.
- Deep Marking: The system can create deep marks, enhancing visibility and traceability of the marked information.
- Cost-Effective: Dot peen systems are cost-effective, offering a reliable solution for direct part marking compared to some alternative methods.
- Automated Integration: Dot peen marking machines can be easily integrated into automated production lines, ensuring consistent and precise marking across large quantities of products.
- Traceability and Compliance: It facilitates traceability in manufacturing processes, meeting industry standards and compliance requirements for part identification and tracking.
- Customization: Dot peen systems allow for customization of marks, including alphanumeric characters, logos, and 2D codes, providing flexibility in marking requirements.
- Reduced Environmental Impact: Dot peen marking is a non-contact process, minimizing material waste and reducing environmental impact compared to some traditional marking methods.
- Ease of Use: The systems are user-friendly, often featuring software interfaces that enable easy programming and customization of marking content.
Overall, the Dot Peen Marking System is favored for its reliability, versatility, and ability to provide clear and permanent marks on a variety of materials.
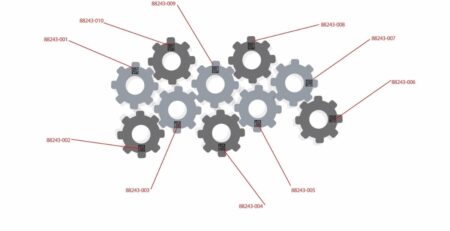
Fixturing for dot peen marking
IMPORTANT – Unless the work piece is held firmly then there is little hope of obtaining a good quality mark.
If you have a wide variety of work pieces to mark then you may have to make several interchangeable fixtures. Use a magnetic chuck, or similar, to allow these fixtures to be changed over quickly and accurately.
Work piece material
The machines may mark a very wide range of materials but some materials are easier to mark than others.
The harder the material, the shallower the depth of mark will be. The type of material will also influence the life of the stylus, the stylus tip will wear or chip quickly the harder the material. The angle of the stylus tip may be changed to reduce the chance of chipping. Changing the angle may also increase the readability of the mark.
Surface finish
Smooth, well finished work pieces are easier to mark than rough, scaled work pieces.
The worse the finish, the deeper the mark will have to be to remain readable.
Painted work pieces may be marked but the paint may chip, try changing the stylus tip angle to reduce the chipping.
Work piece flatness
The machine can mark on surfaces which are not completely flat but the depth of the mark will vary across the surface. For dot marking, as the gap between the stylus tip and the surface of the work piece increases, the depth of the mark will increase. If the difference in gap is only 1 to 2 mm (0.040″ to 0.080″) then the mark produced may be acceptable.
If you have to mark a heavily contoured surface (a cylindrical work piece, for example) then there are several things that should be considered:
- Try to use as large a gap as possible. If you have an initial gap of 5mm (0.200″) then a change of 1mm (0.040″) will have less effect than the same change would have had with an initial gap of 2mm (0.080″), for example.
- Mark a line of text by splitting it into several sections and then marking each with a different force to compensate for the change in gap. If using this approach the Split Line software function will assist if marking variable data.
- Reduce the character size or width so that the whole mark is shorter.
What depth of mark can be achieved with dot peen marking
The depth of mark depends on the following factors
- marking force (programmed on the controller)
- marking gap (distance between stylus tip and workpiece)
- material hardness of the work piece
- stylus tip angle.
(90° Stylus – Note marking depths vary depending on material hardness and stylus tip angle)
The effect of marking force versus marking gap is illustrated in the chart.

Marking gap
The marking gap is the distance between the stylus tip and the surface of the work piece. Changing the marking gap changes the depth of mark. The larger the gap, the deeper the mark.
Stylus tip angle
The stylus tip angle (normally 90° included) may be varied to increase stylus life, increase the depth of the mark or increase the readability of the mark (though not all of these at once!)
A small included angle (perhaps 60°) will give a deep mark but stylus life will be reduced. The deeper mark obtained may even be less readable because the diameter of individual dots will be less.
A large included angle (perhaps 120°) will result in a longer stylus life. A less deep mark will be obtained but the mark may be more readable, this is because individual dots will be wider. Marking Data Matrix codes with a stylus angle of 120° often produces the best results and leads to the most readable codes.
A mini stress stylus (radius tip) will help to eliminate any stress on the work piece but will result in a shallower mark.
Character size
The machines can mark characters from 0.15 to 49.95mm (0.006″ to 1.967″) high. Avoid using very large or very small characters, if possible. We class small characters as being up to 1.00mm (0.040″), medium characters as being 1.00mm to 4.00mm (0.040″ to 0.160″), and large characters as being larger than 4.00mm (0.160″).
Large characters take longer to mark than medium size characters, they also need to be marked more deeply to remain readable. If you need to mark large characters then consider using the 7×9 or Varidot style instead of the normal 5×7 style (the more dots there are, the more readable the mark).

To make an enquiry about Dot Peen marking or to arrange a demonstration, please contact us